
When your computer slows to a crawl, freezes without warning, or refuses to boot, guessing at the cause wastes time and can make things worse. The right diagnostics turn vague symptoms into clear answers, whether you’re dealing with failing hardware, corrupted files, or a bloated startup list.
That’s why we’ve rounded up the 10 best troubleshooting tools for diagnosing PC problems, from built-in Windows utilities to powerful third-party apps. Each one is free or affordable, easy to run, and designed to pinpoint issues fast so you can get back to work.
Introduction
Few things are as frustrating as a computer that refuses to cooperate. A sudden blue screen, an application that freezes without warning, or a system that crawls when it used to fly — these problems can derail your workday and test your patience. The good news is that you do not need to be a certified technician to diagnose most PC issues. What you need is the right set of troubleshooting tools and a methodical approach to using them.
This article explores 10 Best Troubleshooting Tools for Diagnosing PC Problems with clear, practical guidance. Whether you are dealing with hardware failures, software conflicts, performance bottlenecks, or mysterious error messages, the tools covered here will help you identify root causes rather than guessing at solutions. Understanding the fundamentals of 10 Best Troubleshooting Tools for Diagnosing PC Problems helps you make informed decisions, and it also saves you from wasting time on fixes that do not address the real problem.
We will walk through the essential concepts behind PC diagnostics, take a deep dive into ten specific tools, and outline a step-by-step process you can follow whenever a new problem appears. Reliable information and consistent habits lead to better long-term outcomes — not just for your current machine, but for every computer you maintain in the future.
Key Concepts
Before diving into specific tools, it helps to understand the categories of problems you will encounter and the types of diagnostics that address them. PC issues generally fall into four broad buckets: hardware failures, software conflicts, performance degradation, and configuration errors. Each category requires a different diagnostic lens, and many tools overlap in what they can detect.
Hardware diagnostics focus on physical components — hard drives, RAM, CPUs, GPUs, power supplies, and motherboards. Tools in this category often read sensor data, run stress tests, or check for physical errors like bad sectors on a disk. Software diagnostics, by contrast, examine the operating system, drivers, applications, and registry entries. They look for corrupted files, outdated drivers, conflicting programs, and improper settings.
Performance monitoring tools track resource usage over time. They answer questions like: Is the CPU maxed out? Is RAM nearly full? Is the disk constantly at 100% usage? These tools are invaluable because they reveal patterns that a single snapshot cannot show.
Finally, system information tools provide a baseline understanding of what is installed and how it is configured. Knowing your exact hardware model, driver versions, and BIOS revision is often the first step in diagnosing compatibility issues.
Another key concept is the difference between symptoms and root causes. A slow computer is a symptom. The root cause might be a failing hard drive, a background process consuming resources, or malware. Good troubleshooting tools help you move from symptom to cause quickly and accurately. Without them, you risk applying band-aid fixes that only mask the underlying issue.
Deep Dive: The 10 Best Troubleshooting Tools
Here are ten tools that cover the full spectrum of PC diagnostics, from built-in utilities to specialized third-party applications.
1. Windows Memory Diagnostic
Bad RAM can cause random crashes, blue screens, and data corruption. Windows Memory Diagnostic is a built-in tool that restarts your computer and runs a series of tests on your memory modules. It is free, easy to use, and surprisingly thorough. For more advanced testing, MemTest86 is a bootable alternative that runs outside the operating system.
2. CrystalDiskInfo
Hard drives and SSDs fail over time, often with warning signs. CrystalDiskInfo reads S.M.A.R.T. data from your storage devices and reports on temperature, reallocated sectors, and overall health. If your drive is on the verge of failure, this tool will tell you before you lose data.
3. HWMonitor
Overheating is a common cause of sudden shutdowns and performance throttling. HWMonitor displays real-time temperature readings for your CPU, GPU, and motherboard, along with fan speeds and voltage levels. If temperatures spike under load, you know it is time to clean fans or reapply thermal paste.
4. Process Explorer
Task Manager is useful, but Process Explorer from Microsoft Sysinternals goes much deeper. It shows you exactly which process is using a file or folder, displays parent-child process relationships, and helps identify malware masquerading as a legitimate system process.
5. Autoruns
Many performance problems stem from too many programs launching at startup. Autoruns shows you every single item configured to run automatically — far more than Task Manager reveals. You can disable unnecessary entries and speed up boot times significantly.
6. BlueScreenView
Blue screens of death (BSODs) leave behind minidump files that most users never examine. BlueScreenView parses these files and shows you which driver or module caused the crash. It is an essential tool for diagnosing recurring crashes.
7. Malwarebytes
Malware can slow down your system, hijack your browser, or steal data. Malwarebytes is a dedicated anti-malware scanner that complements your primary antivirus. Running it regularly catches threats that traditional antivirus software might miss.

8. Ping and Tracert
Network problems often masquerade as PC problems. If web pages load slowly or video calls drop, the issue might be your connection rather than your computer. Ping tests reachability, while Tracert shows the path your data takes. Both are built into Windows, macOS, and Linux.
9. Speccy
Speccy provides a complete snapshot of your system specifications — CPU model, RAM amount and speed, motherboard, graphics card, storage devices, and operating system details. It is invaluable when you need to check compatibility or share your specs with a support technician.
10. Windows Reliability Monitor
Reliability Monitor tracks system stability over time, showing you a timeline of crashes, application failures, and Windows updates. If a problem started after a specific update or software installation, this tool helps you pinpoint exactly when things went wrong.
Step-by-Step Troubleshooting Process
Having the right tools is only half the battle. You also need a consistent process that ensures you diagnose problems thoroughly rather than haphazardly. Follow these six steps whenever you encounter a new PC issue.
Step 1: Understand the fundamentals
Before you open any diagnostic tool, take a moment to understand what you are dealing with. Is the problem reproducible? Does it happen at startup, during specific tasks, or randomly? What changed recently — new software, a driver update, a hardware addition? Understanding the fundamentals of 10 Best Troubleshooting Tools for Diagnosing PC Problems helps you make informed decisions about which tool to reach for first. Write down everything you know about the problem. This simple act often reveals patterns you would otherwise miss.
Step 2: Assess your starting point
Gather baseline information about your system before making changes. Run Speccy or a similar system information tool to document your hardware and software configuration. Check Reliability Monitor for recent stability issues. Note your current performance levels — boot time, application launch times, and resource usage at idle. This baseline becomes your reference point. Without it, you cannot tell whether a fix actually improved anything or simply shifted the problem elsewhere.
Step 3: Set clear goals
Define what success looks like. If your goal is to eliminate random crashes, then success means running for a full week without a BSOD. If the goal is faster boot times, set a target like “under 30 seconds.” Vague goals like “make it faster” lead to vague fixes and uncertain outcomes. Clear goals also help you decide when to stop troubleshooting and when to escalate to professional repair or replacement.
Step 4: Gather necessary resources
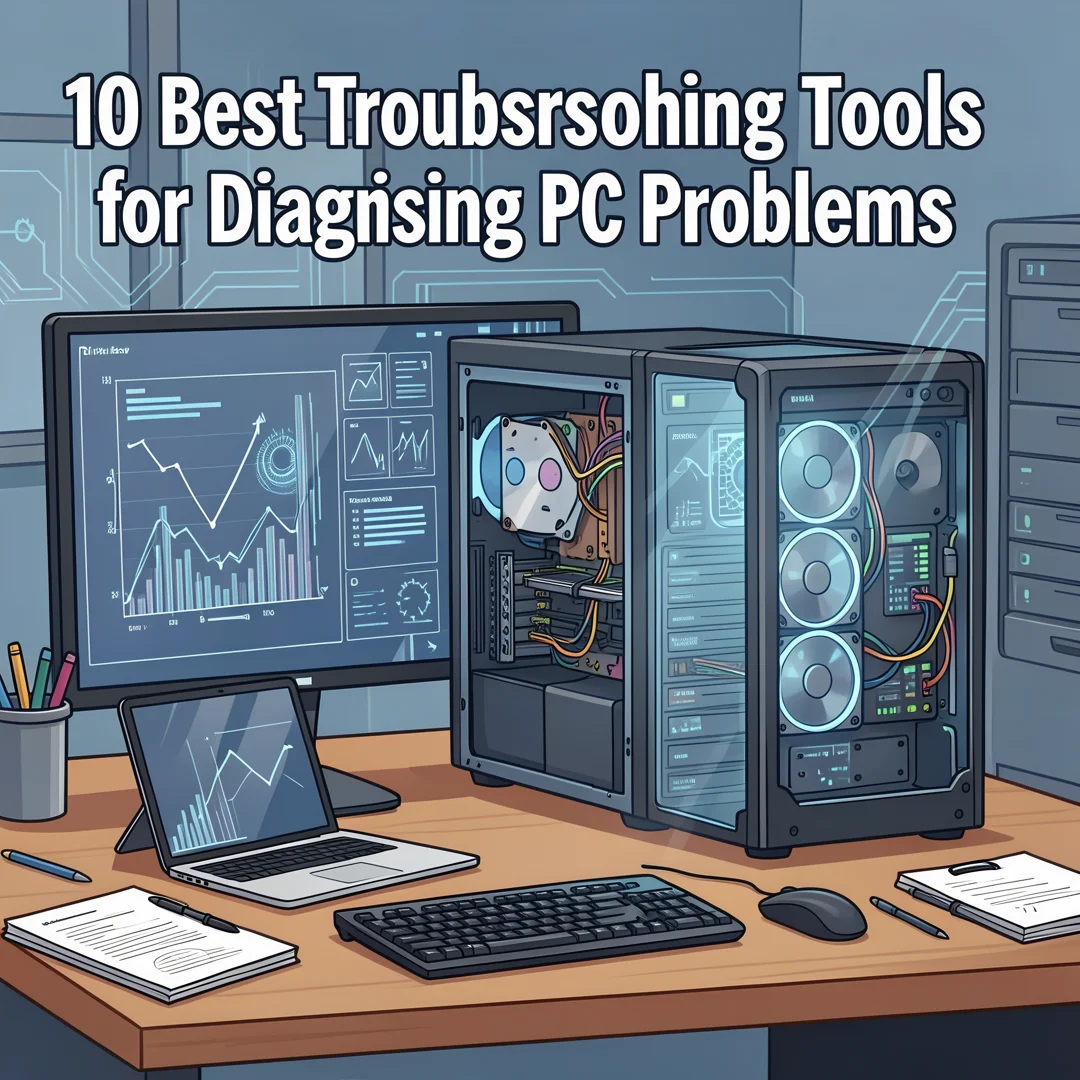
Download and install the tools you expect to need before you start diagnosing. Create a dedicated troubleshooting folder. If you suspect hardware issues, have a USB drive ready for bootable diagnostics like MemTest86. If you might need to check network connectivity, open a command prompt and familiarize yourself with Ping and Tracert. Having resources ready means you can move smoothly from one diagnostic step to the next without interruptions.

Step 5: Apply the core methods
Now begin diagnosing. Start with the most likely cause based on your symptoms. If the system crashes randomly, run Windows Memory Diagnostic and CrystalDiskInfo. If performance is poor, use Process Explorer and Autoruns to identify resource hogs. If the problem appeared after an update, check Reliability Monitor and consider rolling back. Move from simple, non-invasive checks to more complex ones. Document what you find at each stage. If a tool points to a specific driver or process, research that component before taking action.
Step 6: Monitor your progress
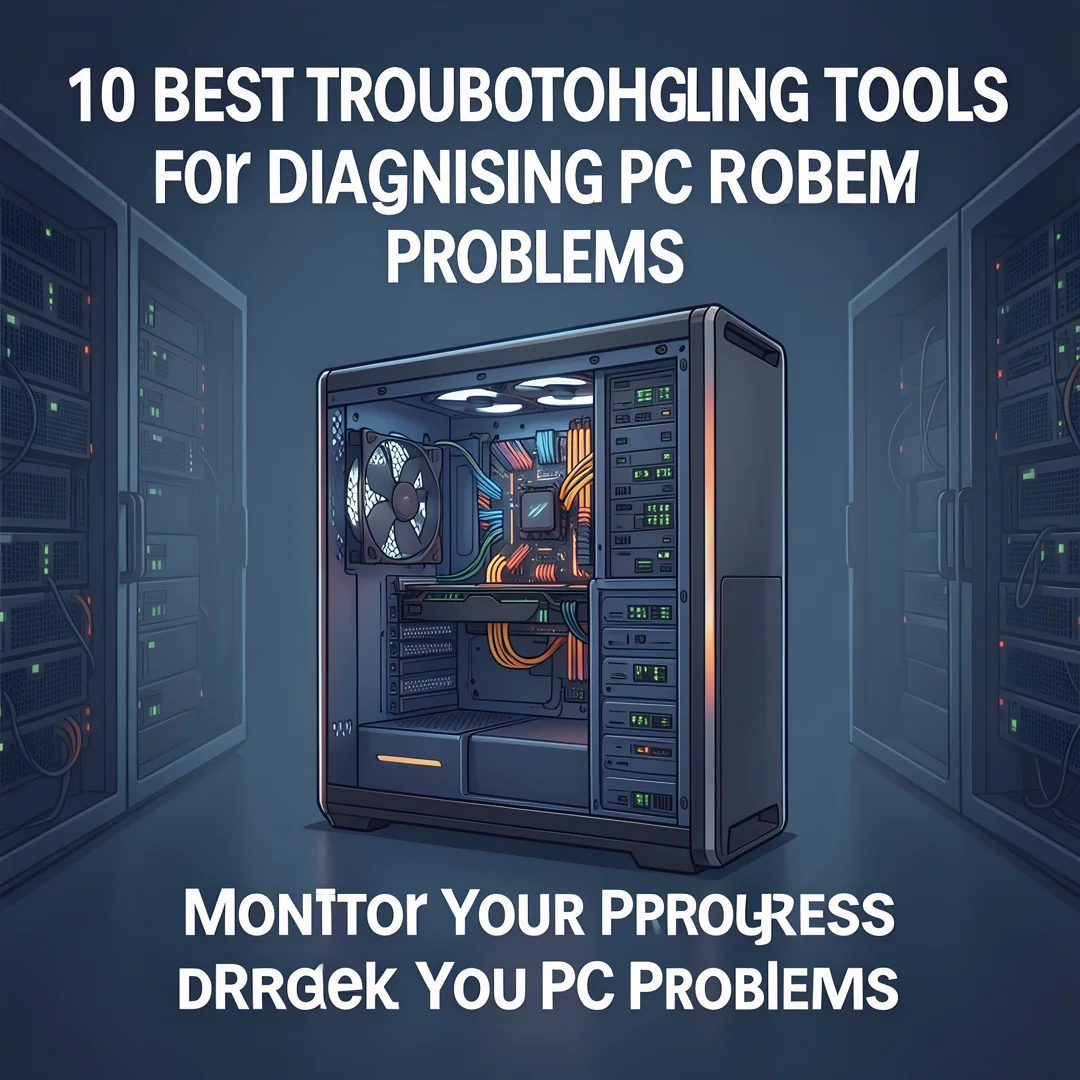
After applying a fix, do not assume the problem is solved. Monitor your system for several days. Check Reliability Monitor to confirm that crashes have stopped. Use HWMonitor to verify that temperatures remain stable. Re-run performance tests to confirm that improvements are real. Reliable information and consistent habits lead to better long-term outcomes, so make monitoring a regular part of your routine rather than a one-time activity.
Best Practices
To get the most out of your troubleshooting efforts, keep these best practices in mind.
- Change one thing at a time. If you apply three fixes simultaneously and the problem disappears, you have no idea which one worked. Isolate variables.
- Document everything. Keep a simple text file with dates, symptoms, tools used, and outcomes. This record becomes invaluable if the problem returns or if you need to explain the issue to a technician.
- Start with free, built-in tools. Windows, macOS, and Linux all include capable diagnostic utilities. Exhaust these before downloading third-party software.
- Back up your data before making significant changes. Some diagnostic and repair procedures carry a small risk of data loss. Protect yourself first.
- Be skeptical of online advice. Many forum posts recommend drastic fixes like registry cleaners or system restore points without understanding the underlying issue. Stick to reputable sources and official documentation.
- Know when to stop. If you have spent hours on a problem with no progress, it may be time for professional help. Persistent hardware failures, in particular, often require physical repair that software tools cannot address.
FAQ
What should I know about 10 Best Troubleshooting Tools for Diagnosing PC Problems?
The most important thing to understand is that tools are only as good as the process you follow. No.
You now have a solid foundation for 10 Best Troubleshooting Tools for Diagnosing PC Problems. Apply the best practices above and revisit this guide as your needs evolve.