

Your operating system and personal files are only one crash, ransomware attack, or accidental deletion away from disappearing forever. Whether you’re a beginner setting up your first PC or an IT administrator managing dozens of endpoints, choosing the right backup tools is the single most important step in safeguarding your data.
In this guide, we break down the 10 best backup tools for protecting your operating system and files. From free, beginner-friendly options to enterprise-grade solutions with automation and encryption, you’ll find the perfect fit for your needs.
Introduction
Data loss is not a matter of if, but when. A failed drive, a ransomware attack, an accidental deletion, or a corrupted operating system update can wipe out years of work in seconds. This guide covers 10 Best Backup Tools to Protect Your Operating System and Files in practical, step-by-step detail. Whether you are a beginner setting up your first backup routine or an IT administrator managing dozens of endpoints, choosing the right tool is the difference between a minor inconvenience and a catastrophic loss.
Backup software has evolved far beyond simple file copying. Modern tools offer disk imaging, incremental snapshots, cloud synchronization, and bare-metal recovery. The challenge is matching the tool to your environment: Windows, macOS, Linux, or a hybrid fleet; home hardware or enterprise servers; local drives or remote cloud storage. Throughout this article, you will find key concepts explained in plain language, a deep dive into ten leading tools, and practical steps for implementation.
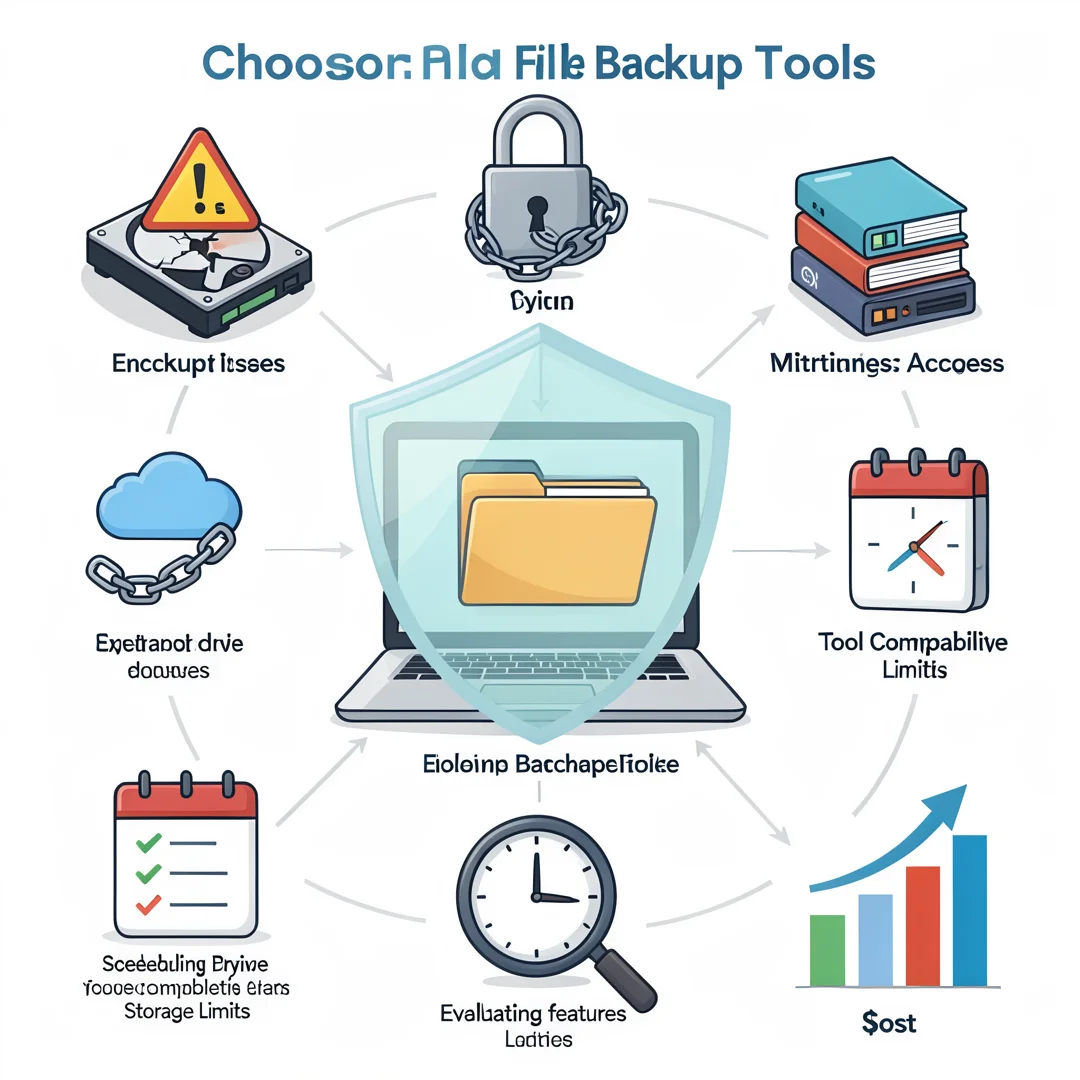
Always verify software compatibility with your hardware architecture (ARM64 vs x86). Many backup utilities are compiled for specific CPU families, and installing the wrong build can cause silent failures or refuse to launch entirely. Keeping your operating system updated before installation prevents dependency conflicts and ensures that kernel-level snapshot features work correctly.
Key Concepts
Before comparing tools, you need a shared vocabulary. Backup terminology is often used loosely, which leads to confusion when configuring software.
- Full backup: A complete copy of all selected data. It is the most reliable but consumes the most storage and time.
- Incremental backup: Only data changed since the last backup (full or incremental). Fast and space-efficient, but restoring requires the full chain.
- Differential backup: Only data changed since the last full backup. Restores need just the full plus the latest differential.
- Disk imaging: A sector-by-sector copy of an entire drive or partition, including the operating system, bootloader, and settings. Essential for bare-metal recovery.
- File-level backup: Copies individual files and folders. Ideal for documents, photos, and configuration files, but not for restoring a bootable OS.
- Snapshot: A point-in-time state of a filesystem or volume, often used in virtual machines and modern filesystems like ZFS or Btrfs.
- 3-2-1 rule: Keep three copies of your data, on two different media types, with one copy offsite.
Two more technical distinctions matter. First, block-level versus file-level backup determines how the tool reads data from storage. Second, hot backup (while the system runs) versus cold backup (from bootable media) determines whether you can protect a live operating system. For IT administrators, understanding these differences prevents restoring a corrupted database or a partially written file.
Compatibility is another key concept. ARM64 devices such as Apple Silicon Macs and Raspberry Pi boards cannot run x86-only binaries without emulation. Always verify software compatibility with your hardware architecture before downloading an installer. Similarly, keeping your operating system updated prevents dependency conflicts—many backup tools rely on system libraries, kernel modules, or frameworks that change between OS releases.
Deep Dive
This deep dive examines ten backup tools, grouped by use case and platform. Each entry highlights what the tool does best and where it falls short.
1. Acronis Cyber Protect Home Office
A commercial suite combining disk imaging, file backup, and anti-malware. It supports full, incremental, and differential backups, plus bare-metal recovery to dissimilar hardware. Ideal for beginners who want a single dashboard. The main drawback is the subscription cost, and you must confirm which build matches your CPU architecture.
2. Veeam Backup & Replication
The enterprise standard for virtual machines and physical servers. It offers image-level backups, instant recovery, and replication to secondary sites. IT administrators appreciate its granular recovery and reporting. Beginners will find the interface overwhelming, and licensing is complex.
3. Clonezilla
A free, open-source disk cloning and imaging tool. It runs from a bootable USB, making it perfect for cold backups and bare-metal restores. It is fast and supports many filesystems. The trade-off is a text-based interface and no scheduled backups without scripting.
4. Macrium Reflect
A Windows-focused imaging tool with a free tier for personal use. It creates full, incremental, and differential images, and can mount images as virtual drives for quick file recovery. The paid version adds ransomware protection and rapid delta restore.
5. Duplicati
A free, open-source tool that backs up encrypted, compressed, incremental data to cloud storage such as Google Drive, Dropbox, or Backblaze B2. It works on Windows, macOS, and Linux. The web interface is friendly, but large restores can be slow.
6. Timeshift
A Linux system restore utility that takes snapshots of your operating system. It is not a full data backup tool; it focuses on system files and settings. Pair it with a separate file backup for complete protection. Excellent for beginners on Linux Mint or Ubuntu.
7. Restic
A command-line backup program for advanced users. It supports deduplication, encryption, and multiple backends including SFTP, S3, and local disks. It is fast and reliable, but requires comfort with terminal commands. Verify ARM64 builds if you run it on a Raspberry Pi.

8. Borg Backup
Similar to Restic but with a stronger focus on deduplication and compression. It is popular on Linux servers for its efficiency. Borg uses a repository model and supports mountable archives. It has no native Windows client, though WSL can bridge that gap.
9. Windows Backup (Built-in)
Windows includes File History and the legacy Backup and Restore (Windows 7) tool. File History continuously backs up personal files to an external drive. It is free and simple, but it cannot image your operating system or protect installed applications. Best for beginners who want a zero-cost starting point.
10. rsync
A ubiquitous command-line tool for file synchronization and backup. It is available on nearly every Unix-like system and can mirror directories locally or over SSH. It is extremely efficient with incremental transfers. However, rsync is not a versioned backup tool—if you delete a file and sync, the deletion propagates unless you use snapshots or hard links.
When selecting among these, consider your recovery time objective (RTO) and recovery point objective (RPO). If you cannot tolerate more than one hour of data loss, incremental backups every hour are mandatory. If you need to restore a server in fifteen minutes, imaging plus replication is the answer.
Step-by-Step Implementation
The following six steps apply regardless of which tool you choose. They turn a loose collection of backups into a reliable protection strategy.
Step 1: Understand the fundamentals
Start by classifying your data. Separate the operating system, applications, and user files. The OS and applications are best protected with disk images; user files can be protected with file-level backups. Write down what a total loss would cost you in time and money. This baseline prevents over-engineering and ensures you do not overlook critical data such as browser profiles, encryption keys, or database files that live outside the standard documents folder.

Step 2: Assess your starting point
Inventory your hardware and software. List every machine you need to protect, its CPU architecture (ARM64 or x86), available storage, and operating system version. Check current disk usage and free space. If you plan to use cloud storage, measure your upload bandwidth. This assessment reveals constraints early. For example, a laptop with a 256 GB SSD and 10 Mbps upload speed cannot realistically back up 200 GB to the cloud overnight.
Step 3: Set clear goals
Define your RPO and RTO in concrete terms. RPO is how much data you are willing to lose; RTO is how long restoration may take. A home user might accept a 24-hour RPO and a 4-hour RTO. A business server might require a 15-minute RPO and a 30-minute RTO. Also decide on retention: how many daily, weekly, and monthly versions you will keep. Goals guide tool selection and schedule design.
Step 4: Gather necessary resources
Collect the hardware, software, and credentials you need. This includes external drives, NAS devices, cloud accounts, and bootable recovery media. Download the correct installer for your architecture. Keep your operating system updated before installation prevents dependency conflicts—run system updates first, then install the backup tool. Create a written record of licenses, encryption passwords, and repository locations. Store a copy of that record somewhere other than the machine being backed up.
Step 5: Apply the core methods
Install your chosen tool and configure a job. Follow the 3-2-1 rule: create a local full backup, schedule incremental backups, and replicate to an offsite destination. For disk imaging, create a bootable rescue media and test that it starts. For file backups, select folders explicitly rather than backing up the entire drive, which wastes space. Enable encryption if the destination is portable or cloud-based. Run the first full backup manually so you can observe any errors, then automate subsequent runs.
Step 6: Monitor your progress
Backups fail silently more often than people realize. Check logs weekly. Configure email or desktop notifications for job failures. Periodically restore a single file to verify the backup is readable. Once a quarter, perform a full test restore to a spare drive or virtual machine. Update your plan when you install new software, add hardware, or change operating systems. Monitoring is not optional; it is the step that turns a backup plan into a recovery plan.
Best Practices
Following these practices will keep your backups reliable and your recovery smooth.
- Follow the 3-2-1 rule. Three copies, two media types, one offsite. This protects against fire, theft, and ransomware that encrypts local drives.
- Encrypt backups. Use strong passwords or key files. Store the encryption key separately from the backup.
- Test restores regularly. An untested backup is a hope, not a plan. Restore files and, occasionally, a full system image.
- Verify architecture compatibility. Always confirm that your backup software supports your CPU family. ARM64 and x86 builds are not interchangeable.
- Keep the OS updated. System updates patch kernel vulnerabilities and update libraries that backup tools depend on.
- Document your configuration. Record job schedules, retention policies, and credentials in a secure location.
You now have a complete workflow for 10 Best Backup Tools to Protect Your Operating System and Files. Keep your system updated, monitor resource usage, and revisit this guide when software versions change.
Next steps: harden your server firewall, set up automated backups, and explore related tutorials linked above.